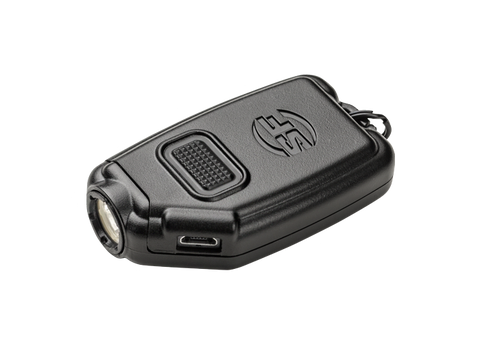
Surefire Sidekick Flashlight
WE BUILD THE BEST
This innovative SureFire illumination tool was designed, engineered, and manufactured in America—using the best components sourced worldwide—to provide you with a trouble free service and easy attachment to your keys. Please be sure to review this manual to ensure optimal performance.
KIT CONTENTS
• Sidekick
• 6 inch Micro USB to USB cable • Key ring
• Mini carabiner clip
LIGHT OPERATION
Fully press activation button until light clicks on; this will provide constant-on output in the low setting. Click off and on again, within one second, for medium setting. Repeat for high-output setting. If Sidekick has been off for more than one second, it will default to its lowest setting on first click.
RECHARGING
Insert the micro-USB end of the included cable into the port on Sidekick then insert the USB end into a wall (AC) or car (DC) using appropriate connector. The light will continuously flicker while connected to a power source to signal a proper connection. Full charge cycle may take up to 3 hours. The LED will constantly illuminate at the low output setting when fully charged. See figure 2.
PROGRAMMING SIDEKICK’S ACTIVATION SEQUENCE
Sidekick’s default activation sequence goes from low to medium to high output and then off; however, it can also be programmed by the user to reverse this sequence— high-med-low-off—to accommodate personal preference. Sidekick must be plugged into its charger to program the activation sequence. Once programmed and removed from its charger, the activation sequence will not change unless Sidekick is reprogrammed to its default sequence.
To reverse Sidekick’s default activation sequence
-
Plug Sidekick into its charger
-
Press and release the pushbutton three times until high output is activated
-
Wait 5 or more seconds, then press pushbutton once more, turning Sidekick off
-
Remove Sidekick from its charger and test activation sequence— it should
now be high-med-low-off
To restore Sidekick’s activation sequence to its default setting (low-med-high-off), repeat the above procedure with the following exception in Step #2: Press and release pushbutton three times until LOW output is activated.


